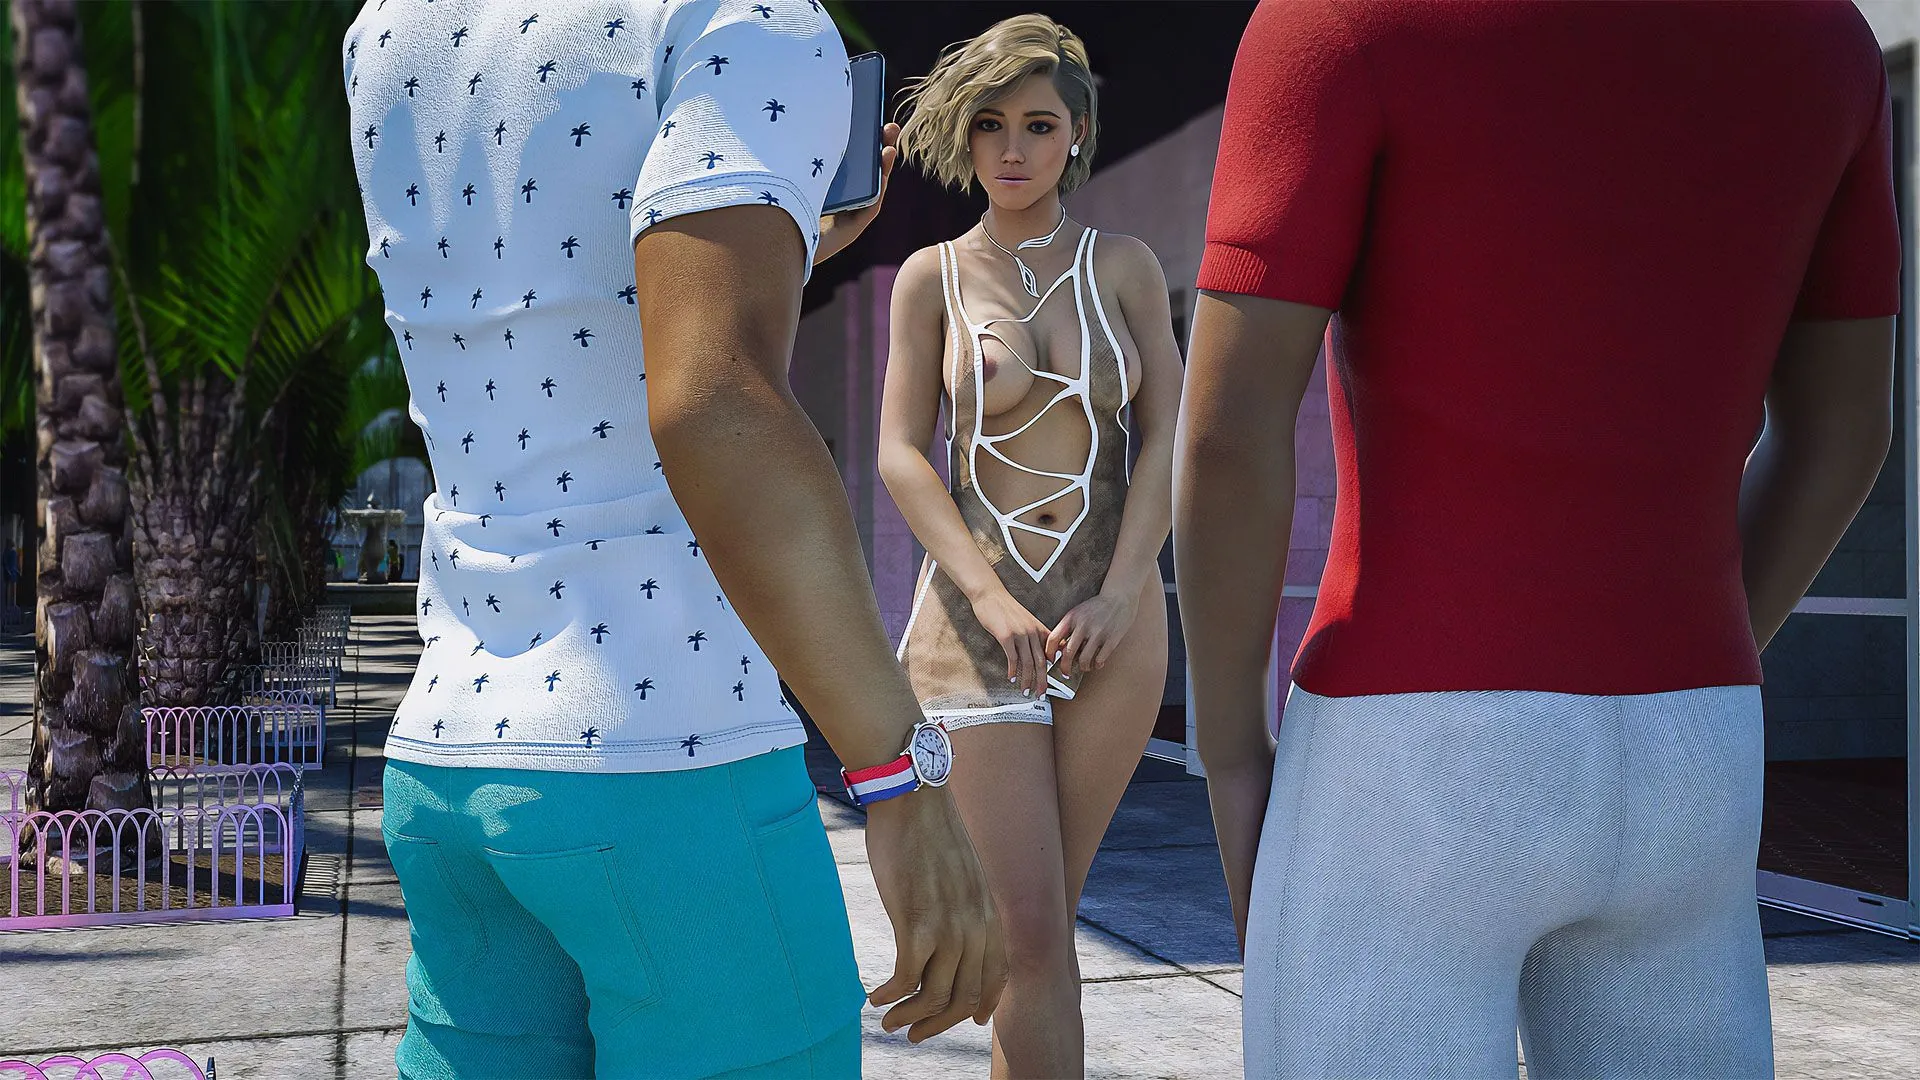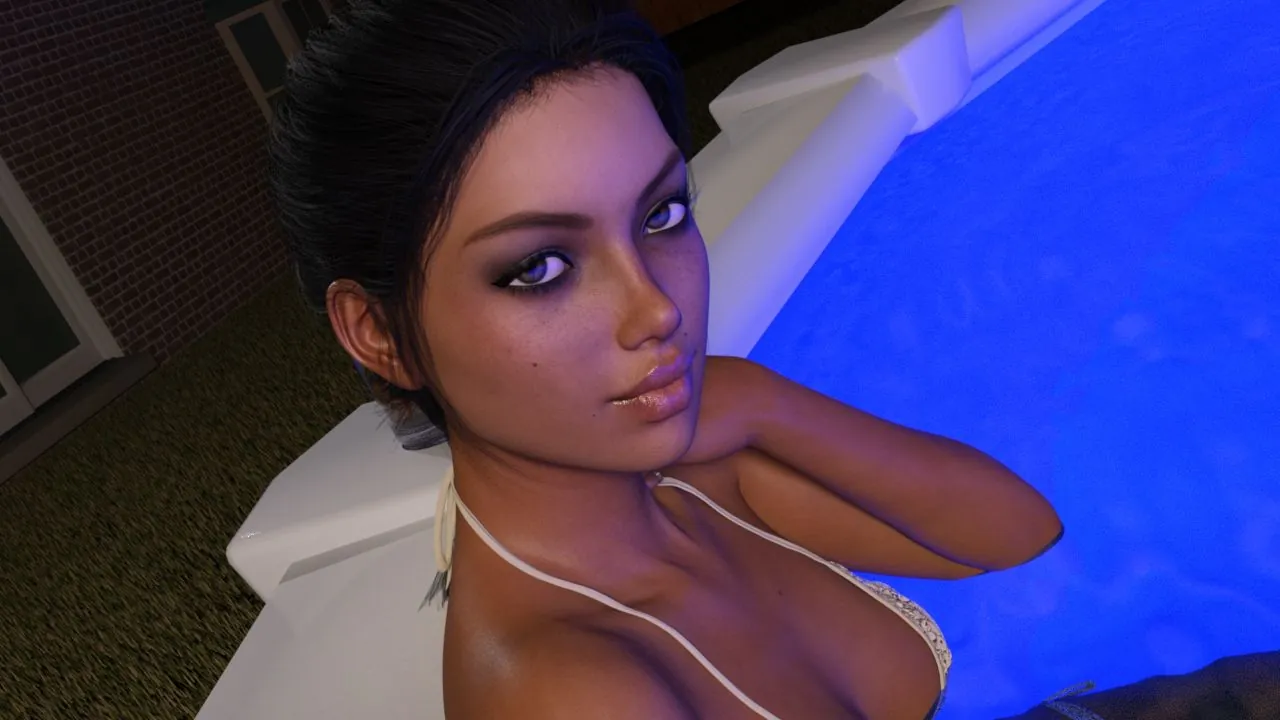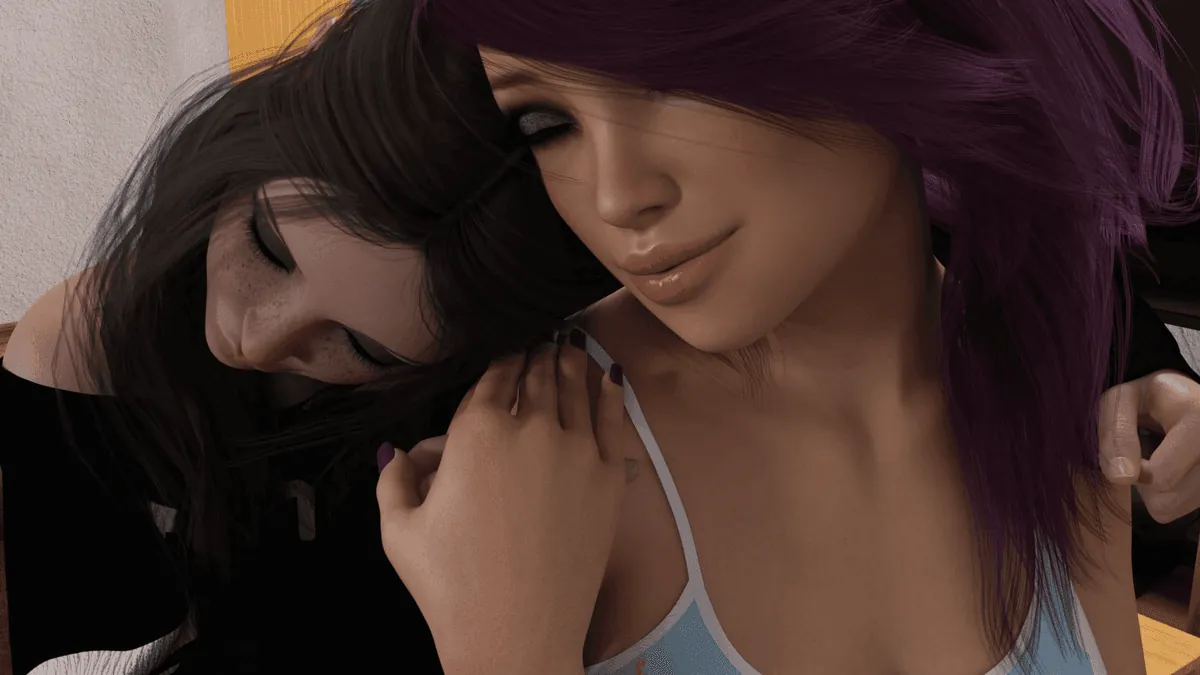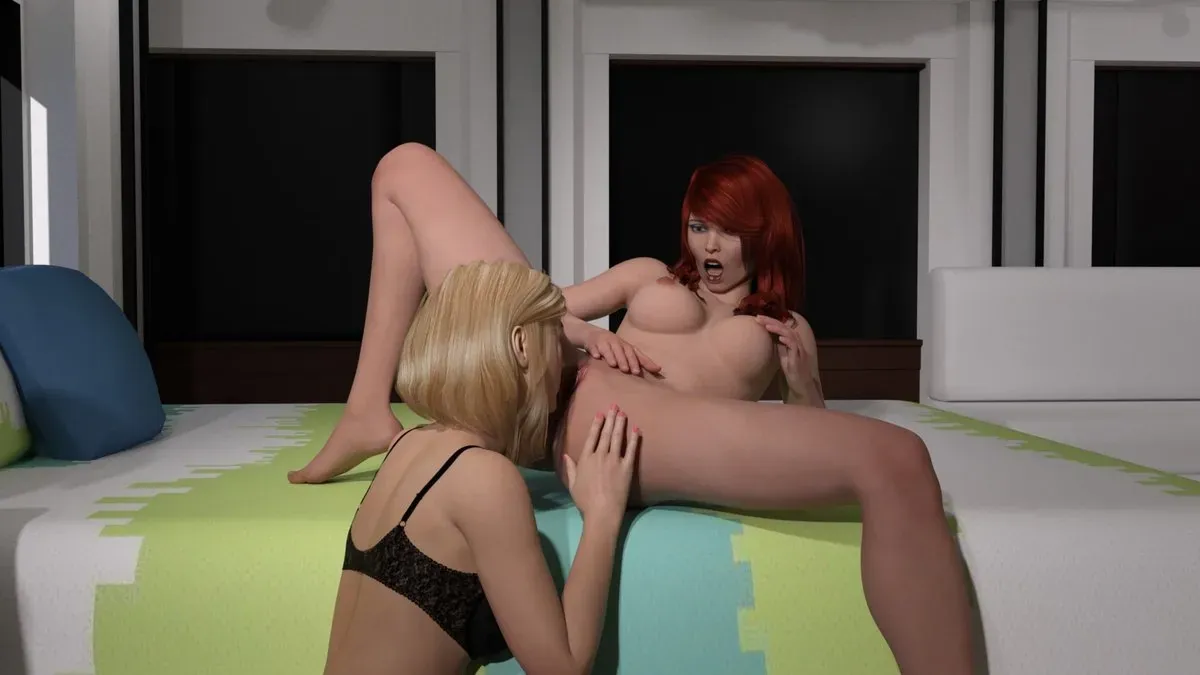
コイカツ! / Koikatsu Party Screenshots
コイカツ! / Koikatsu Party review
Dive into Custom Anime Worlds and Endless Customization Fun
Ever dreamed of crafting your perfect anime companion? Koikatsu Party lets you do just that with its insanely detailed character creator and immersive school life sim. I remember my first time firing it up – hours vanished as I tweaked every curve and expression until she felt real. This game from Illusion blends deep customization with interactive scenarios, making it a must for anime fans. Whether you’re new or modding pro, discover why Koikatsu Party stands out in anime sims, from studio mode masterpieces to dynamic daily adventures. Let’s explore how to maximize your playtime!
What Makes Koikatsu Party’s Character Creation Unmatched?
I remember one particularly late night, the soft glow of my monitor the only light in the room. I was on a mission: to recreate a character from a beloved, obscure manga. Hours melted away, not out of frustration, but pure flow. With each subtle adjustment to the eye shape and every delicate shift in hair physics, she slowly came to life. That’s the magic of the Koikatsu Party character creator—it’s not just a toolset, it’s a portal. It transforms the nebulous images in your mind into living, breathing anime personalities ready to step into their own worlds. 🎨
What truly sets it apart is a powerful paradox: immense depth paired with intuitive design. You’re handed the keys to a professional-grade studio but without the cryptic manual. Whether you dream of crafting the perfect ‘waifu,’ designing an entire cast for a visual novel, or just seeing your original character smile, this system is your gateway. Let’s dive into what makes the character creation in Koikatsu Party an experience that’s genuinely unmatched.
How to Master the 300+ Customization Options
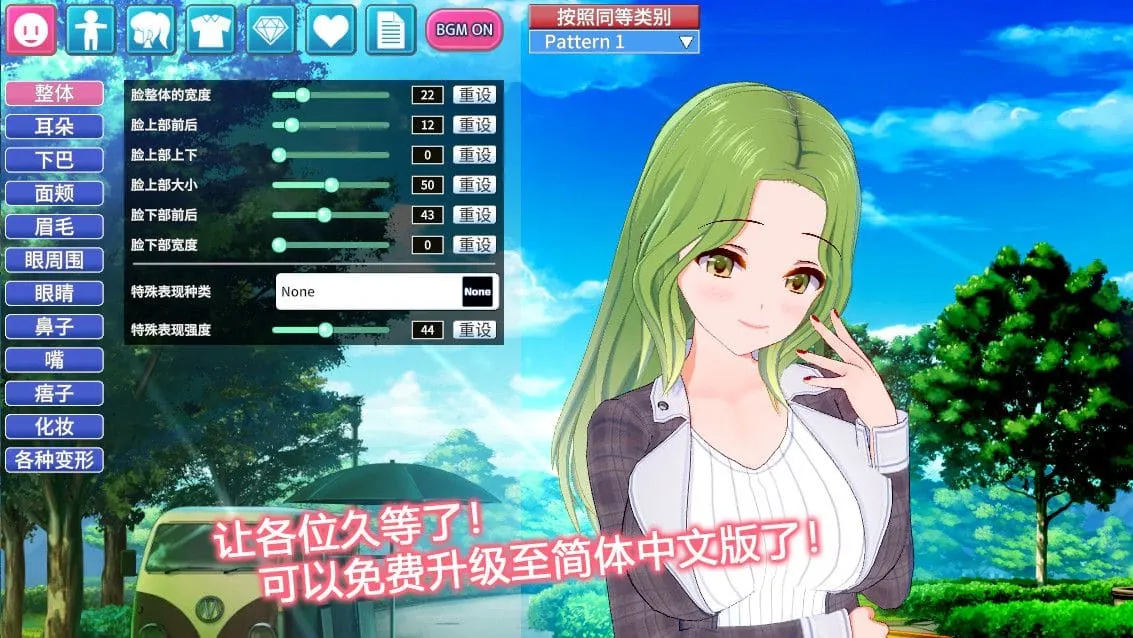
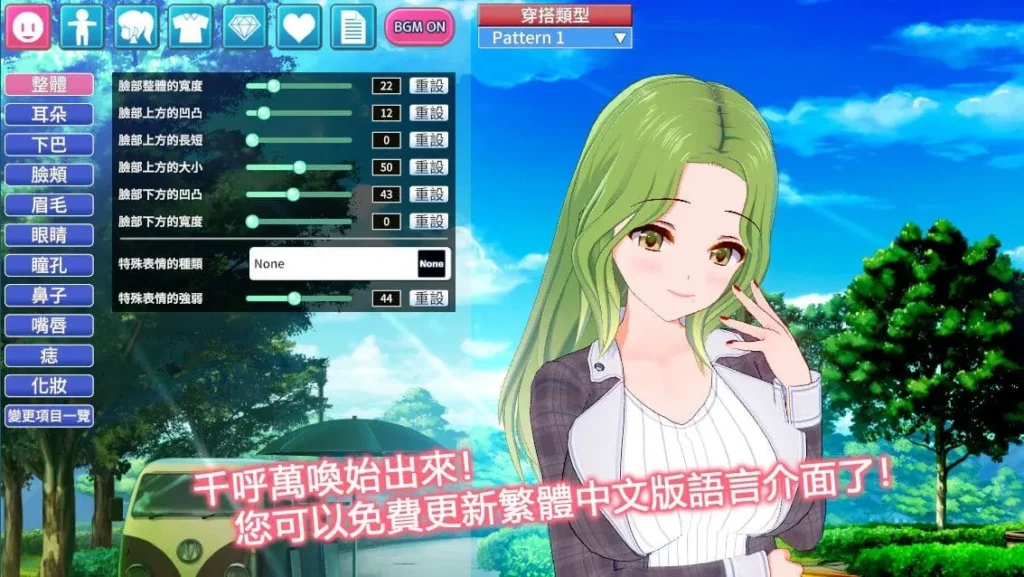
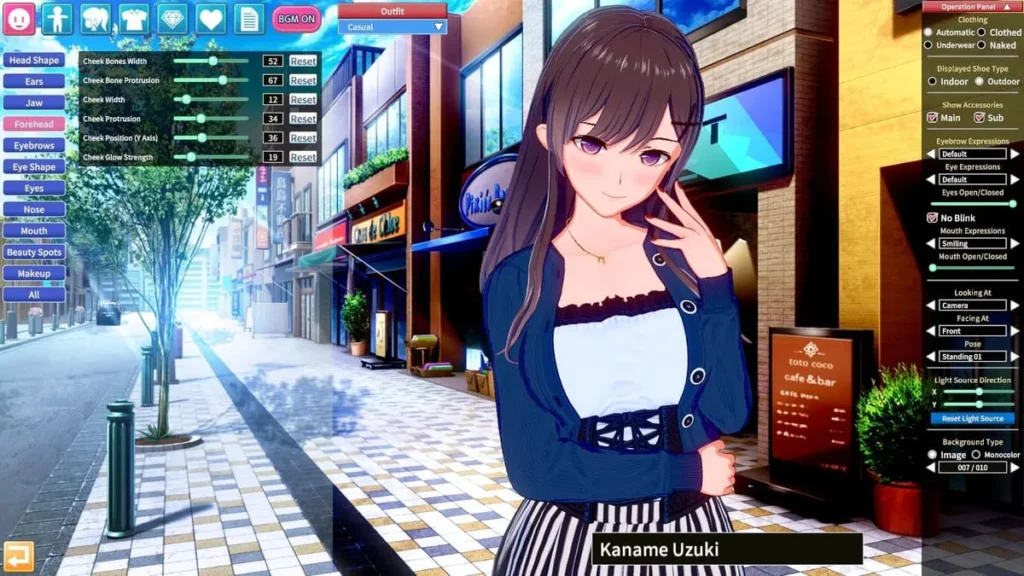
The heart of Koikatsu Party customization is the CharaStudio. Don’t let the initial screen fool you—behind every main slider are sub-menus, and behind those, often even more granular controls. It’s a Russian doll of creative possibility!
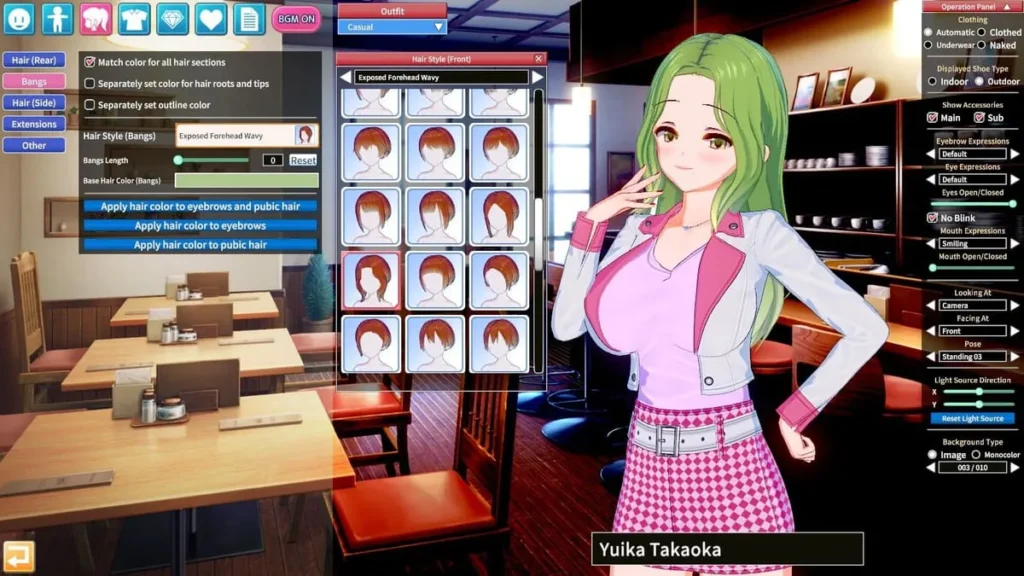
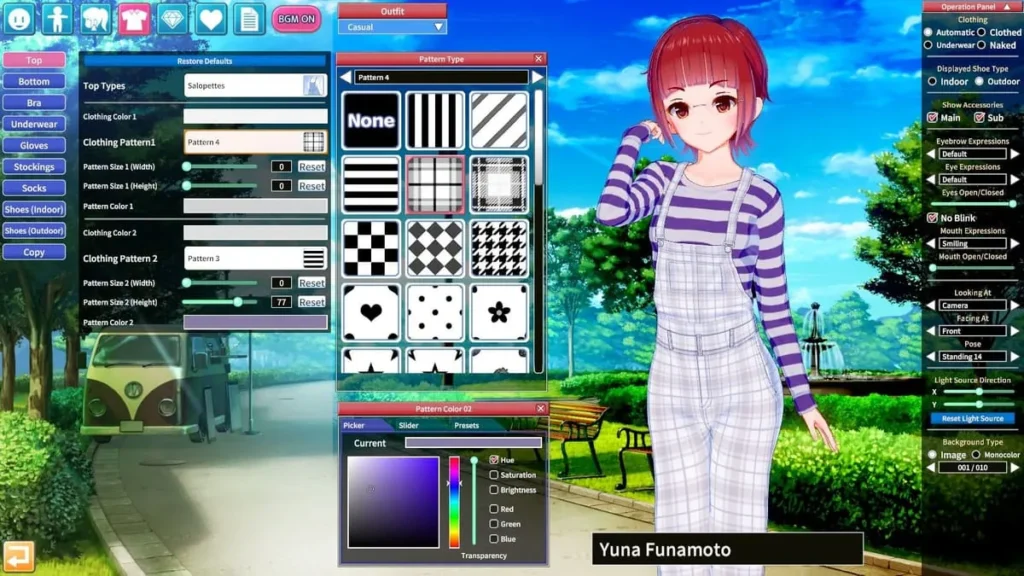
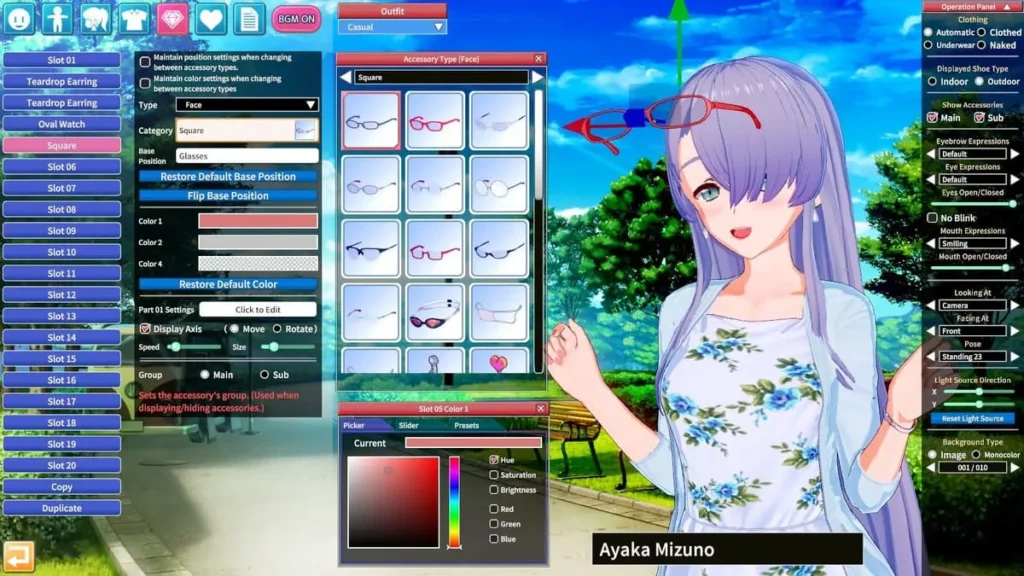
Start with the face. You aren’t just picking from static presets. You can manipulate the bone structure of the skull, adjust the width and height of individual facial features, and even control the texture and gloss of the skin. The eye editor alone is a masterpiece, allowing you to design the iris pattern, adjust pupil size, and play with highlights to create everything from a gentle gaze to a fierce glare. The hair system is equally detailed, with front, side, and back sections you can individually color, adjust for gravity, and tweak for that perfect, dynamic flow.
When it comes to the body, the Koikatsu Party character creator gives you surgical precision. Beyond standard proportions, you can sculpt muscle definition, adjust the curve of the spine, and modify the exact shape and placement of every feature. The devil—and the divinity—is in these details.
The secret weapon? The anime shader. This is what makes your creations pop off the screen. It renders skin with a soft, luminous quality and gives eyes an unbelievable depth, capturing that authentic 2D anime look in a 3D space. Learning how to customize in Koikatsu Party means learning to play with this lighting and shading to add blush, sweat, or dramatic shadows.
Here are my top actionable tips to conquer this incredible toolkit:
- Start with a Strong Base Preset: The game includes hundreds of fantastic community and official presets. Find one that’s 70-80% of the way to your vision. It’s far easier to modify than to create from a blank slate.
- Work in Layers: Don’t try to perfect the face, then the body, then the clothes. Do a broad pass to get the general silhouette and vibe, then go back for a second, more detailed pass. You’ll see the character holistically.
- Master the “Mouse” Control Method: In sliders, clicking and dragging left/right adjusts the value. But if you click and drag up/down, you change the sensitivity, allowing for hyper-precise adjustments. This is a game-changer!
- Save Incrementally and Use Templates: Save multiple versions (e.g., “Character_Final,” “Character_Final_HairUpdate”). Also, save individual pieces like “MyFavoriteEyes” or “PerfectSmile” as templates to use across projects.
- Experiment with Skin and Lighting Last: A character’s look changes dramatically under different lights. Do your main sculpting under neutral studio lighting, then apply final skin tones and experiment with scene lighting for the final, dramatic effect.
Choosing Personality Archetypes for Lifelike Interactions
Your character’s look is only half the story. The Koikatsu Party personality archetypes system is the genius that gives them a soul. This isn’t just a flavor text dropdown; it’s a complex AI driver that governs how your character speaks, acts, and reacts in every scenario.
With over 30 archetypes to choose from—like Tsundere, Genki, Kuudere, Ojou-sama, or Yandere—you’re assigning a behavioral blueprint. A character with the “Shy” archetype will fidget, avoid eye contact, and speak softly. A “Confident” character will stand tall, initiate conversations, and use different vocabulary. I once built a quiet librarian, expecting simple, meek interactions. But by giving her a hidden “Passionate” sub-archetype, she’d suddenly launch into excited, detailed rants about niche books in private—it was a delightful surprise that made her feel real.
These personality archetypes directly influence dialogue choices in story modes and dynamic interactions in the Studio. They determine the tone of voice, the choice of words, and even physical reactions. This layer of Koikatsu Party customization is what transforms a beautiful statue into a believable person. It’s supported by incredible Japanese voice acting, offering multiple voice options per archetype, which adds an immense layer of immersion. Hearing your carefully crafted character speak with perfect, emotive timing is the final piece of the magic.
To help you choose, here’s a comparison of some popular archetypes:
| Archetype | Key Traits | Interaction Style | Best For Scenarios That Are… |
|---|---|---|---|
| Tsundere | Initially cold, hostile, or dismissive, but secretly caring. | Blunt, sarcastic, prone to blushing and angry outbursts that often mask affection. | Romantic comedies, will-they-won’t-they tension, character growth arcs. |
| Genki | Energetic, optimistic, and loud. | Very forward, smiley, uses lots of exclamations. Can be naive but is overwhelmingly positive. | Friendship stories, uplifting scenes, comic relief, or the “heart” of a group. |
| Kuudere | Calm, collected, and emotionally reserved on the surface. | Speaks softly and logically. Shows affection through subtle actions rather than words. | Mysterious characters, slow-burn romance, intelligent or strategic roles. |
| Deredere | Openly loving, affectionate, and sweet. | Warm, physically clingy (in a good way), verbally expressive of their feelings. | Pure romance, comforting scenes, characters who wear their heart on their sleeve. |
| Yandere | Loving and affectionate to the point of violent obsession and possessiveness. | Can switch from sweet and devoted to dark and threatening in an instant. Unpredictable. | Thrillers, horror, dark romance, or stories exploring obsession. |
Studio Mode: Building Scenes Like a Pro
If the character creator is where you build your actors, then Koikatsu Party studio mode (CharaStudio) is where you direct your blockbuster film or capture the perfect illustration. This is where your customized characters and their personalities come together to tell a story.
Think of it as a powerful, intuitive 3D posing and scene-building tool. You can load multiple characters, choose from hundreds of poses (or create your own with IK—Inverse Kinematics—controls), place props and backgrounds, and set up complex lighting rigs. The key to mastering Koikatsu Party studio mode is the mouse-driven control scheme. You can click and drag to rotate the camera, use the scroll wheel to zoom, and hold keys while dragging to move characters or objects in 3D space. It feels natural within minutes.
Want to create a dramatic confession scene under cherry blossoms? A tense showdown in a sci-fi corridor? A silly, slice-of-life moment in a classroom? It’s all possible. My best best Koikatsu Party character maker tips extend into the studio:
Always start with lighting. Place your key light (main light source), then a fill light to soften shadows, and finally a rim light behind the character to make them pop from the background. This single step elevates a good scene to a great one.
You can manipulate facial expressions independently of poses, trigger animations, and even set up simple timelines for multi-panel comics or short animated sequences. The depth is staggering, but the entry point is low. By combining your uniquely crafted characters with their defined personality archetypes in bespoke scenes, you’re not just playing a game—you’re conducting a symphony of creativity. This seamless loop from character creation Koikatsu Party offers to scene realization in the studio is why the experience feels so complete and, frankly, addictive. It empowers you to not just imagine, but to manifest, frame, and own the anime worlds of your dreams. 🌌
So, dive into those 300+ sliders, give your creation a compelling personality, and then place them into a story only you could tell. The Koikatsu Party character creator and its accompanying tools are your brush, your pen, and your director’s chair, all in one. Your custom anime world, with all its endless Koikatsu Party customization fun, is waiting.
Koikatsu Party isn’t just a game – it’s your canvas for anime dreams, from god-tier character crafting to modded school adventures that keep pulling you back. I’ve lost count of nights tweaking waifus and chasing perfect runs, and the depth only grows with mods and tips shared here. Whether customizing in studio or navigating lively maps, it delivers endless replayability. Ready to craft your ideal companion? Dive in, experiment boldly, and share your creations in the comments – what’s your favorite setup? Your next obsession awaits!